Questions?
Print it right
Whether your a veteran print-master or someone about to print their first Benchy, there's probably something here for you. Below you'll find some of our most useful tips for getting a strong and beautiful print!
Pro Tips:
Getting it to stick
Without a doubt, the first layer of any print is the most important. If your first layer does not stick well to the print surface, it is very likely to detach later in the print and cause the print to fail. Make sure to watch out for:
WARPING
Increase your bed tempurature. If you have an enclosued build chamber, use it. Try to avoid printing sharp lines/corners on your first layer. Try a brim, skirt or raft.
DIRTY BED
Make sure there isn't debris or plastic residue on your print surface. Wipe clean with alcohal after every print for best results.
BUILD SURFACES
There are lots of different build surfaces out there as well as adhesives. Glass, PEI, buildtak, hairspray, 3D gloop, magigoo, and glue stick are just some of the options. It mostly comes down to a matter of personal preferance, with the correct settings and proper first layer, most anything can work!
ITS TOO STUCK
This can happen with PETG and other "goopy" filaments. Our best advice here is to be patient. Hastily scraping or chisseling away at your print bed can damage it.
We recommend using a flat razor with a handle or sharp scraper blade to get under the corners. Applying hairspray or glue to the print surface can actually keep it from adhering too well to the build plate!
Other mishaps
OOZING & BLOBS
This is usually caused by the extruder stopping and starting again when moving to different areas of the print. Common solutions include increased retraction, as well as optimizing exactly how and where these retractions are happening. Every slicer is a bit different, but there should be several settings that can help this issue!
WEAK LAYER ADHESION
More often than not, this means you're printing too cold. Keep in mind that your hot-end thermistor may need calibrating! Check the cooresponding products page for our recommended tempurature settings.
STRINGING
If you're finding little "spider webs" between parts in your print, you're suffering from stringing! Some filaments (like PETG) are more prone to stringing than others. Increasing retraction, turning on "coast" and "wipe" features, and lowering tempurature slightly can help tremendously. If you are still seeing small strings, removing them is easy- just briefly expose them to a flame and they're gone!
WAIT THERE'S MORE
Simplify3D has a great Print Quality Guide. It covers everything from under-extrusion to dimensional accuracy. We highly recommend it.
Everyone Should Know
-

HARDEN YOUR NOZZLE
Most nozzles are brass, which can be worn away over time by abrasive filaments. If you plan to print materials like carbon fiber, glow-in-the-dark, or steel-filled PLA, make sure to get a hardened nozzle than can handle it.
-

3D PRINTERS & FOOD
The FDA (and therefore Push Plastic) do not recommend using 3D printed items to handle food. There are lots of nooks and crannies in a 3D printed object that can harbor bacteria. That being said, if you want to try it, use uncolored PLA or PET only. For repeated use, sand and coat with a food safe epoxy to fight bacteria build-up.
-

DRY STORAGE
Some materials will naturally absorb moisture from the air. Though Nylon is more sensitive than PLA or PETG, we recommend storing all your filaments in an air-tight container with dessicant. A filament dryer is a good tool to have as well!
-

INFILL V. PERIMETERS
Using 100% infill is almost always unnecessary. Instead, use more perimeters/shells and 30-60% infill for an ultra-strong, light print.


Choose the right material
Impact strength:
The ability of a material to absorb energy during impact. The 3D printed test specimen is held as a vertical cantilevered beam and is impacted by a swinging pendulum. The energy lost by the pendulum is equated with the energy absorbed by the test specimen.
Heat Deflection:
The ability of a material to remain rigid under a constant load at elevated temperatures. The 3D printed specimen is supported on either side and a static load applied to the center. The specimen is lowered into an oil bath where the temperature is raised @2⁰C per minute until the specimen deflects to a specified distance.
Flexural Strength:
A measure of a material’s maximum stress it can withstand before failure. A 3D printed specimen is supported from both ends, and a load applied to the middle.
Flexural Modulus:
A measure of a material’s ability to resist deformation. It is calculated by dividing the applied stress by the total deformation in the material.
Tensile Strength:
A measure of the amount of load that a material can withstand when pulled apart in tension before it yields (stretches irreparably) or breaks.
Tensile Stress @ Yield:
The maximum stress the material can withstand without permanently deforming.
Tensile Stress @ Break:
The maximum stress a material can withstand before breaking.
Tensile Strain @ Yield %:
The measure of the % elongation of the material when stretched before permanent deformation.
Tensile Strain @ Break %:
The measure of the % elongation of the material when stretched to break.
Helpful 3D Printable Files
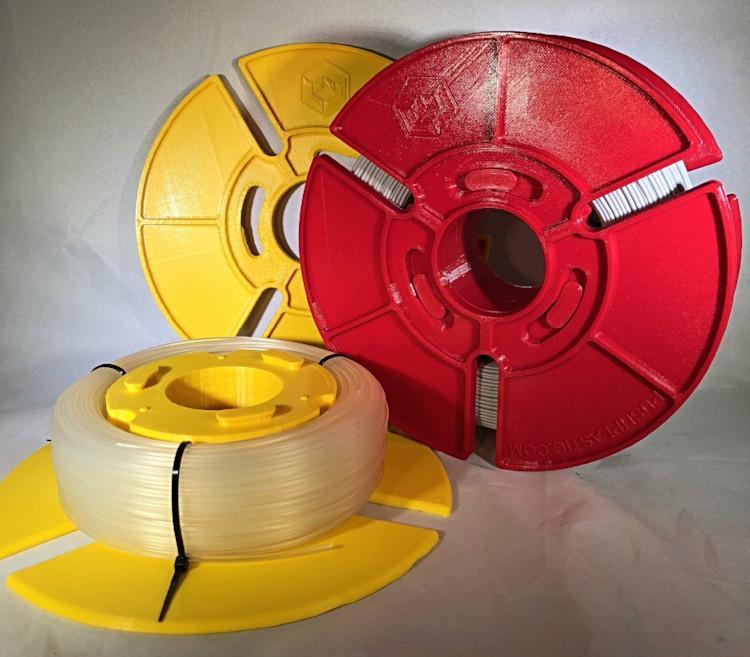
Push Plastic Master Spool
Here is our Master spool for our 200-500 gram coils!
-Dimples in the hub to lock the flange in place during use.
-Leaves room to remove our zip ties and replace them after use.
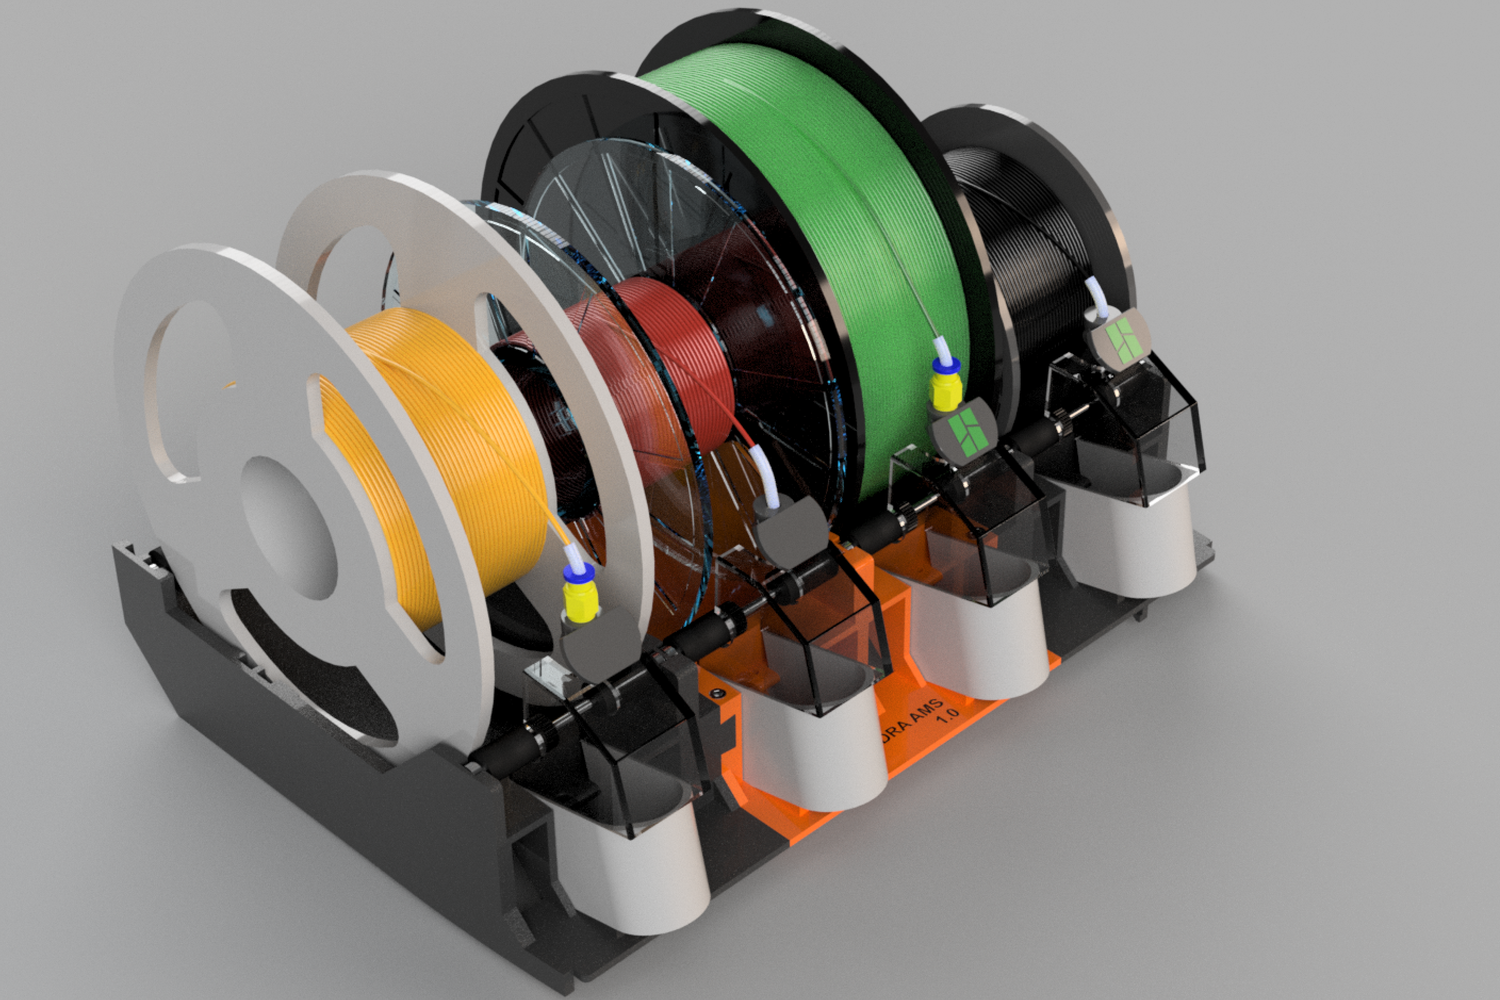
Hydra AMS - Enhanced Bambu Lab AMS
By humebeam
Hydra AMS is an enhanced drop-in main body replacement for the Bambu Lab AMS. This modification will make room so U.S. made 8in/202.5mm diameter spools, and many others, will fit into the AMS.
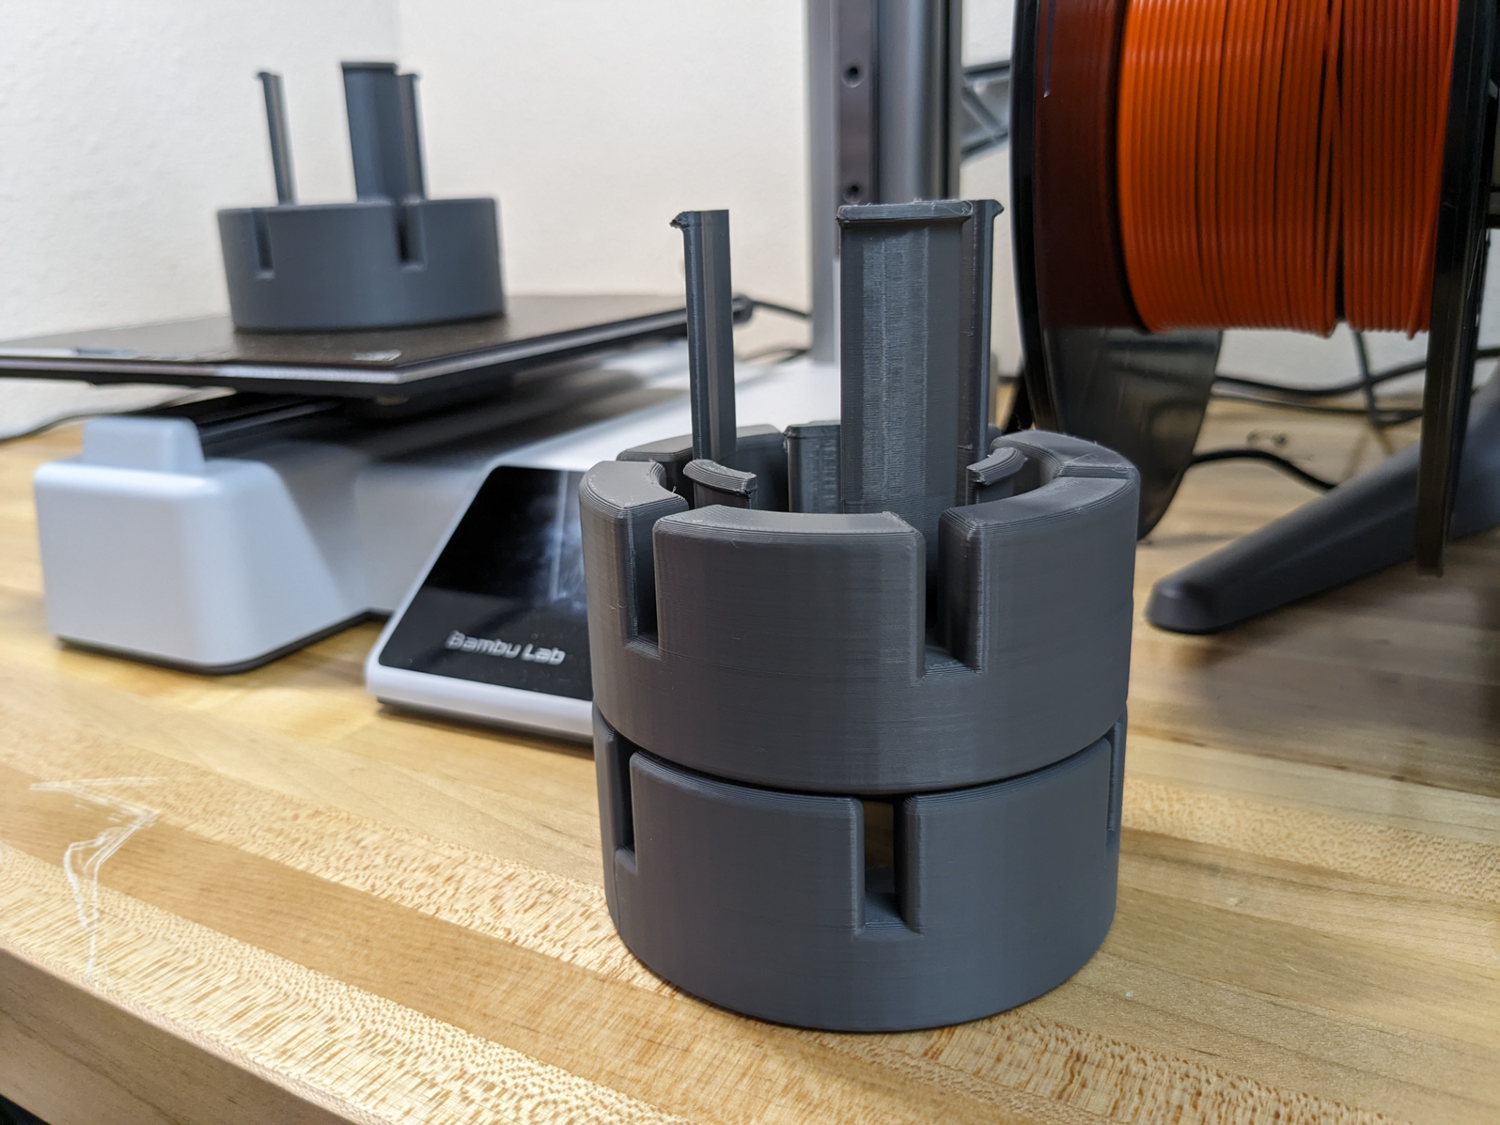
Spool Adapter for AMS Lite - ABC Plastics MC-008W
By famjar vv
A spool adapter insert for ABC Plastics spool model MC-008W. The spool has a recess that can cause the spool to slide off the AMS lite during printing. This adapter locks into the spool, fills the recessed area, and provides the necessary surface contact for the AMS lite to retain the spool during operation.